**Looking for the Linky Party? Scroll down!**
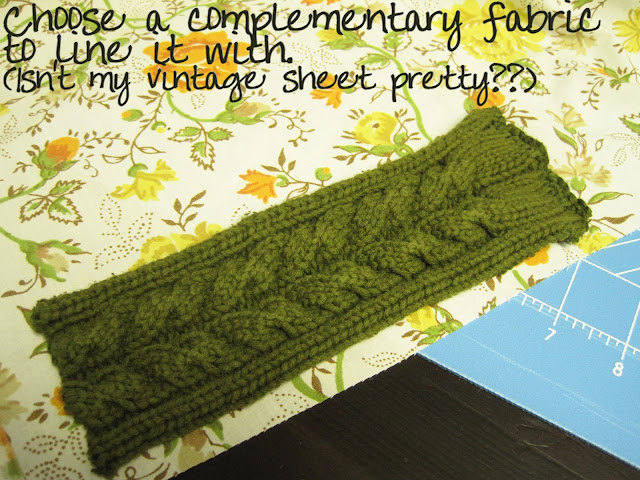
Good morning all!! I'm so excited to share this week's tutorial with you! Remember my Green Sweater Purse? Well, I had a few scraps left over and thought they would contribute nicely to a pretty cuff/bracelet. This was so super easy to make and looks so pretty on. I used a vintage sheet to make the flower and the lining, so this project is a complete refashion!
You will need:
Scraps of a sweater large enough to fit around your wrist
Scraps to make a flower/rosette
Matching thread
Sewing machine
Hand sewing needle
Pins
Scissors
Let's get started!
Isn't it so much fun?! I love it. I thought about adding a large bead to the center of the flower, but, I want to keep it baby friendly so that if my son wants to play with it he can. But, I think a pretty bead would look really pretty on it. Just some food for thought. ;)
I'll be linking up to the fabulous linky parties on the right!


Very cute!
ReplyDeleteSo cute! And how stinky cute are your pins?! Love it
ReplyDeleteThanks guys! Jaime, those pins are from Walmart! They are awesome, they lay flatter and are longer then regular pins. :)
ReplyDeleteSoo cute - great idea!
ReplyDeleteSuper cute, love it! Seriously!
ReplyDeletejjreynoldsfamily.blogpsot.com
I LOVE this! WOW! Thanks for linking up at Trendy Treehouse
ReplyDeleteThis is a fantastic idea and great tutorial. Would love it if you would link up at my party!
ReplyDeletehttp://lifeinmypjs.blogspot.com/
xoxo,
~Ela
The vintage fabric is my favorite detail on these.
ReplyDeleteSo cute! Can you tell me what parts of the sweather you used for the purses?
ReplyDeleteConnie, I'm going to send you an email in a minute, but I'll answer here too in case anyone else has a similar question. :)
ReplyDeleteI think I used a piece of the left over sleeve. But really, you can use any piece of the sweater that you think is pretty and is long enough to wrap around your wrist and that you can still slide your hand out of. I would reccomend cutting with the kintting. So, that means on most sweaters you would want to cut a piece length wise NOT cross wise. Does that make sense I hope?!
I hope that helps! Let me know if you have any other questions. I'm happy to help.
When you're done, I'd love to see your finished piece! :) Send me a link or llink it up to my party!
Oh, nuts. Well, Connie, I tried to email you, but I can't find your email address! I hope you check back! :)
ReplyDeleteReally cute. Great tutorial!
ReplyDeleteI love it! Thanks for linking up over at Olivia Renn, hope to see you again next Wednesday!
ReplyDeleteYou commented on my blog so now I get to comment on yours! I love this! I'm so copying this!
ReplyDeleteHow cute is this!?! I love it!
ReplyDeleteLove that it's repurposed materials, love the design of the cable knit, love the format of your tutorial, love the idea of putting a bead in the middle... a covered button might be cute too... just love it all! Great project!
ReplyDeleteVery very cute!
ReplyDeleteThanks for linking up!
Ashley
www.simplydesigning.blogspot.com
Wow This is so Cute.. Thanks for sharing.
ReplyDeleteoh and I LOVE your Animal background on your blog.
ReplyDeleteBeautiful...Would love for you to add this to my link party: www.thetreasurist.blogspot.com Just click on Thursday Treasures link at top of page.
ReplyDeletewhat a fun idea! I love sweater and it makes a great cuff. Thanks for linking up to Topsy Turvy Tuesdays!
ReplyDeleteCute...great use of resources! I just love sweater anything.
ReplyDeleteSO cute I love it...I think I might try that..thank you for sharing..
ReplyDeletesherry
http://splendiferousgirlsclub.blogspot.com